Step by Step deployment of Azure File Sync Refresh 2 Agent Release update (May 2018)
I think many of you have seen the power of Azure File Sync, I thought to write an article on Azure File Sync for many days but unable to work on it due to various other assignments. Also we are long waiting for some of the changes which were needed for AFS and recently added in Refresh 2 release on 30th May 2018.
The first thing to note that the Azure File Sync service in Azure Storage is still in preview. A full list of updates for the Refresh 2 can be found here.
Assuming many of you have never used the Azure File Sync Feature, I would like to start from very beginning.
What is Azure File Sync (Preview)?
With Azure File Sync (preview), shares can be replicated on-premises or in Azure and can be accessed through SMB or NFS shares on Windows Server. Azure File Sync is very useful for scenarios in which data needs to be accessed and modified far away from an Azure datacenter, such as in a branch office scenario. Data may be replicated between multiple Windows Server endpoints, such as between multiple branch offices.
The main goal of Azure File Sync is to synchronize file shares (data and ACLs) to a (general) storage account using the Azure Files service. One can create a sync group and then specify a path on a file server to synchronize to Azure. The file sync agent is installed onto the file server, meaning that there is no need to relocate data onto different volumes to take advantage of this service. Non-system data volumes are supported. The results of this are:
- Azure File shares are created in the storage account.
- Azure becomes the master copy of the shares – more on this later.
- End users have no idea that this has happened.
- Changes to on-premises data are synchronized in real time to Azure.
PoC Architecture
In this PoC I have the following architecture. Where we are syncing the data for the on-premises file server data with Azure File Sync to an Azure File Server VM.
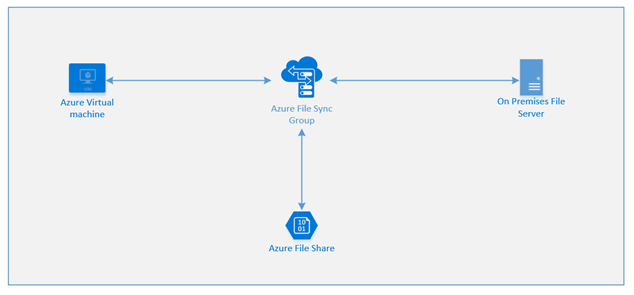
Fig: Architecture of the Azure File Sync PoC environment.
In the above architecture, you will find that we have used Azure File Sync to Sync to replicate the data between our Azure File Server and On-Premises File Server. The Azure File Share shown in the above diagram will store the master data which can be replicated/sync to any server in Azure or in On-Premises. In this above architecture, the source data resides in on-premises, which is synced with a cloud endpoint which is nothing but the Azure File Share which we have created for this purpose. The destination is the Azure VM. In step 1 the data is synced from on-premises to Azure File Share and then it’s again synced from AFS to Azure IaaS VM.
You may ask question why we need to sync the data again to Azure IaaS VM and why we can’t directly mount the AFS on the VM’s and can do a direct cloud access, indirect cloud access method Any Azure file share can be mounted by Windows, macOS, and/or Linux with the industry standard Server Message Block (SMB) protocol or via the File REST API. With SMB, reads and writes to files on the share are made directly on the file share in Azure.
The main reason is the user level ACL’s still can’t be maintained in the direct access of the Azure File Share with SMB.
So there is a need that we should go for Azure File Sync and should deploy server endpoints to give the same feature which we get from DFSR. A table from MS can explain it better.
|
|
Direct cloud access | |
| What protocols do you need to use? | Azure Files supports SMB 2.1, SMB 3.0, and File REST API. | Access your Azure file share via any supported protocol on Windows Server (SMB, NFS, FTPS, etc.) |
| Where are you running your workload? | In Azure: Azure Files offers direct access to your data. | On-premises with slow network: Windows, Linux, and macOS clients can mount a local on-premises Windows File share as a fast cache of your Azure file share. |
| What level of ACLs do you need? | Share and file level. | Share, file, and user level. |
Table: Direct Cloud Access and Azure File Sync Difference
Prerequisites
Here is a list of prerequisite for the deployment of the Azure File Sync.
An Azure storage account and an Azure file share in the same region that you want to deploy Azure File Sync.
At least one supported an instance of Windows Server or Windows Server cluster to sync with Azure File Sync.
Ensure PowerShell 5.1 is installed on your Windows Server.
If you miss any of the Prerequisite like us where we have tried to install it on Windows Server 2012 R2, where we don’t have windows PowerShell installed, we have seen the below error message.
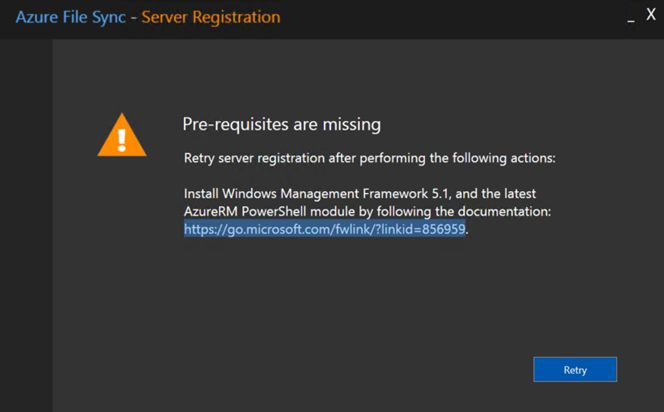
Windows Management Framework can be downloaded from this URL
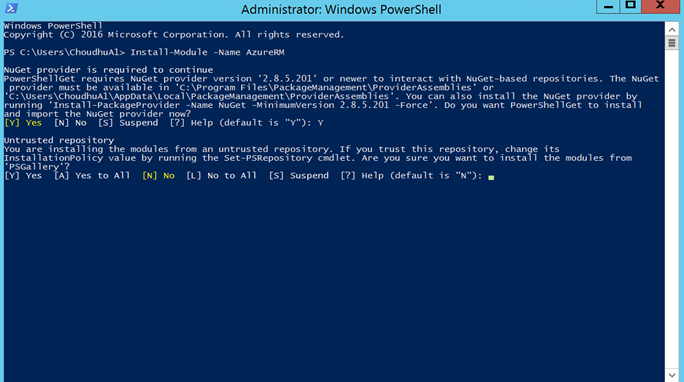
Once the Management Framework 5.1 is installed you need to import the AzureRM module else you will see the below error at a later stage.

How to import this module – here is the screenshot.
Once the Pre Requisite is met you can go for the next step which is the step by step installation step.
Step by step installation
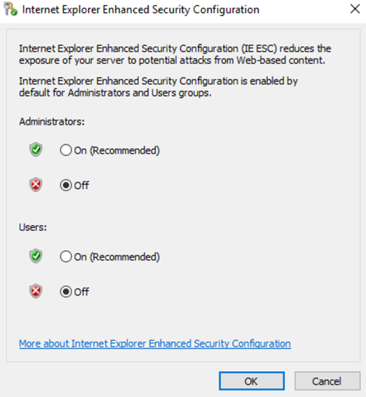
In the first step, we will disable Internet Explorer Enhanced Security Configuration. This is required only for initial server registration. You can re-enable it after the server has been registered.
To do this in the Windows Server
Open Server Manager -> Click Local Server->
On the Properties sub panel, select the link for IE Enhanced Security Configuration.-> In the Internet Explorer Enhanced Security Configuration dialog box, select Off for Administrators and Users.
Install the Azure File Sync agent
The Azure File Sync agent is a downloadable package that enables Windows Server to be synced with an Azure file share.
Below is the download URL.
https://www.microsoft.com/en-us/download/details.aspx?id=55988
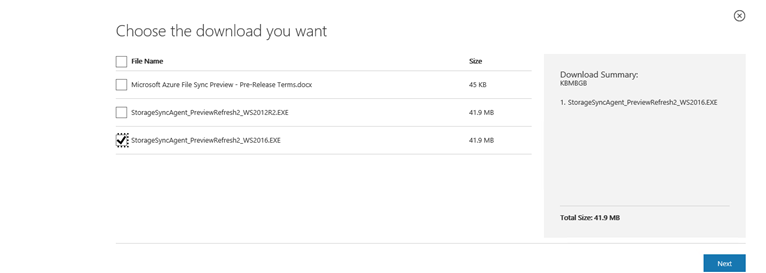
Please note the currently supported OS is only Windows Server 2012 R2 and Windows Server 2016, we have tried to install it on Windows Server 2008 R2 but we have received a message that it’s not supported.
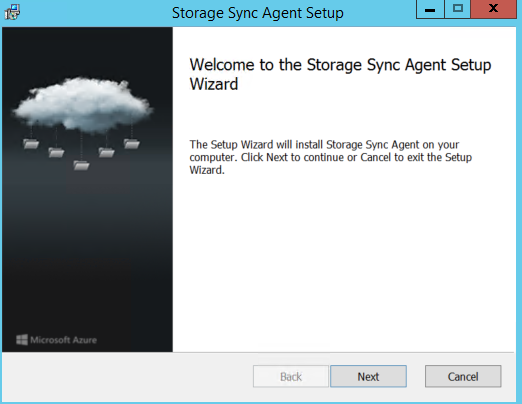
Once you install the MSI, you can run it and can see the below screen.
Once you click Next the below screen appears
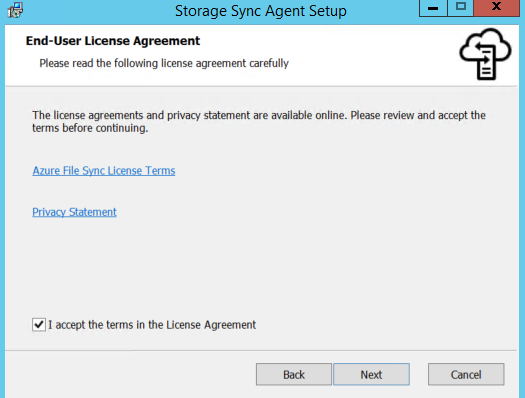
Accept the agreement and click on next to see the below screen.
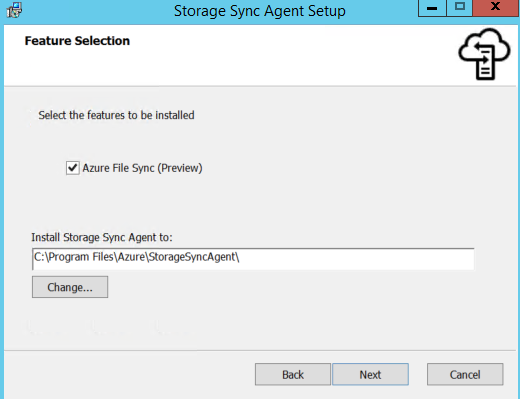
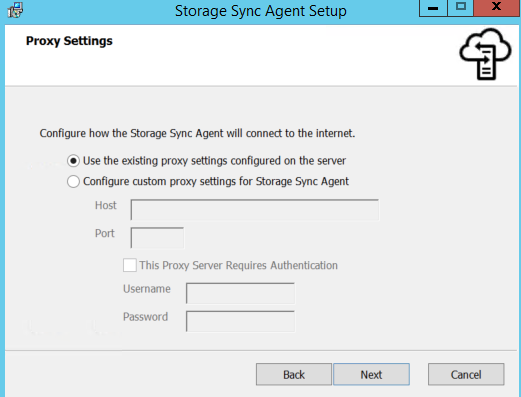
The Proxy settings is added to refresh release but we don’t need to add any proxy for our PoC
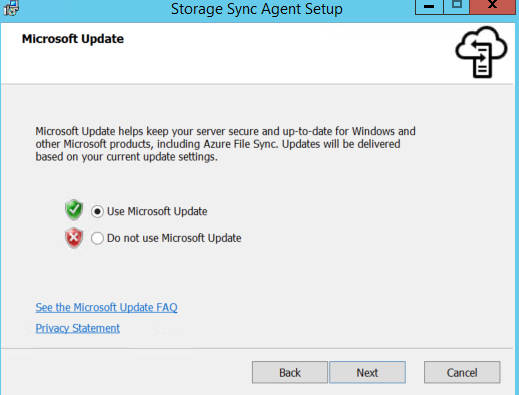
Once you click on next it will search for the update
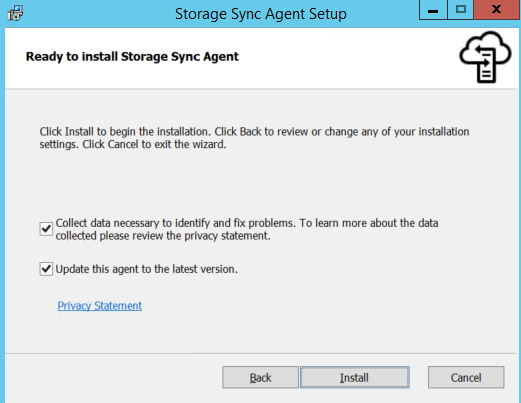
Once you click next the agent is ready to install
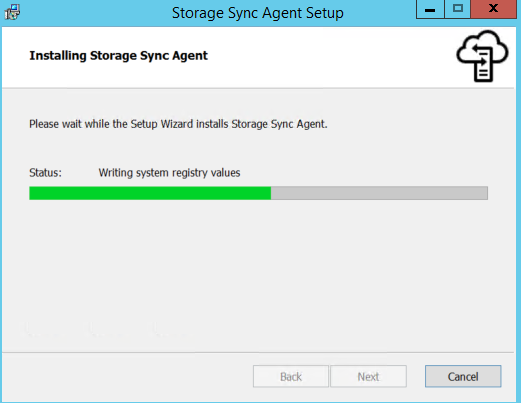
Click on the install button to install the agent
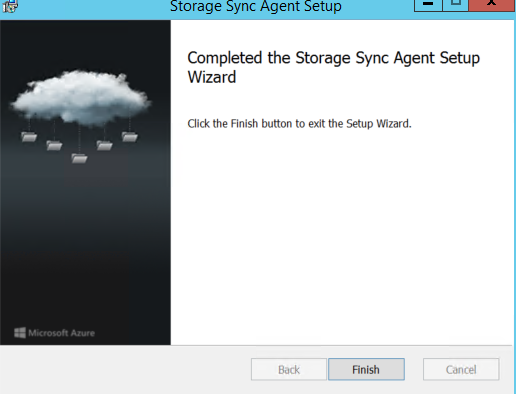
Click on Finish to complete the wizard
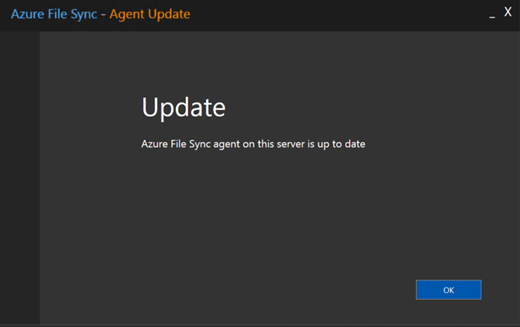
The next step it will check whether the agent is up to date or not and if it’s up to date you will see the below message.
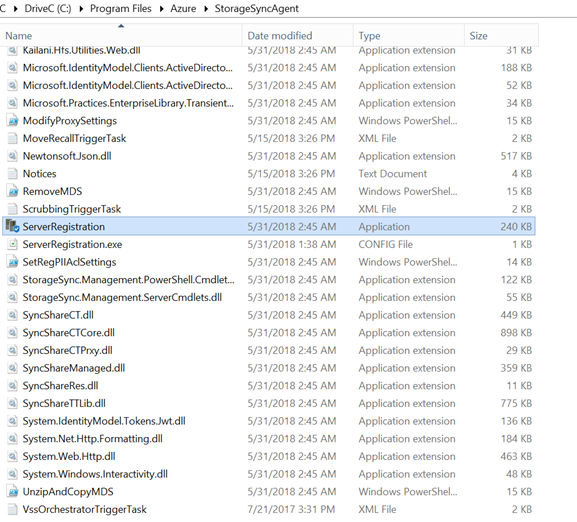
Once it’s installed you can find it under the following path
C:\Program Files\Azure\StorageSyncAgent
Now once this is done let’s get back to Azure and we need to deploy the storage sync service.
Deploy Storage Sync Service
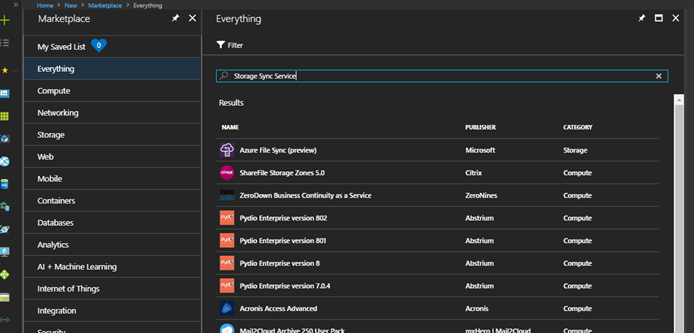
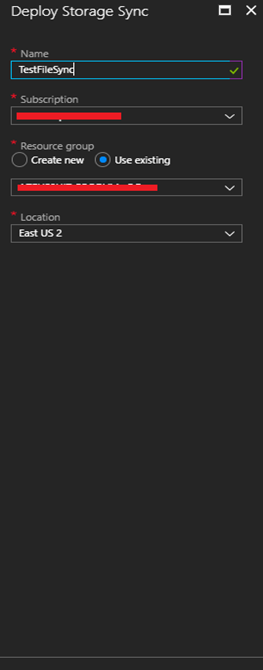
The deployment of Azure File Sync starts with placing a Storage Sync Service resource into a resource group of your selected subscription.
You can go to New -> Marketplace -> Azure File Sync (Preview)
Next, you will see the following screen

Once you click Create in the next on the pan which opens you need to enter the following information
In the next step, we will register the server
Register Windows Server with Storage Sync Service
Registering your Windows Server with a Storage Sync Service establishes a trust relationship between your server (or cluster) and the Storage Sync Service. A server can only be registered to one Storage Sync Service and can sync with other servers and Azure file shares associated with the same Storage Sync Service.
To do this first go to the on-premises or Azure Server where you have installed the agent.
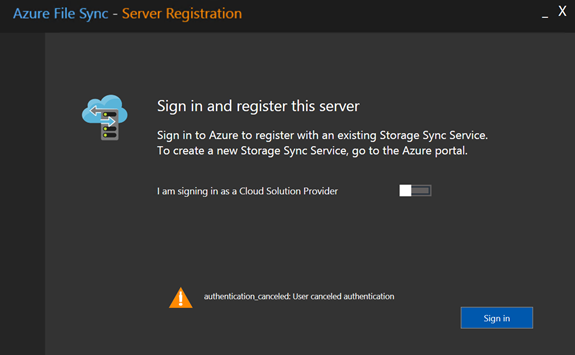
You need to login in to your account
Next choose the storage Sync Service (Server Registration)

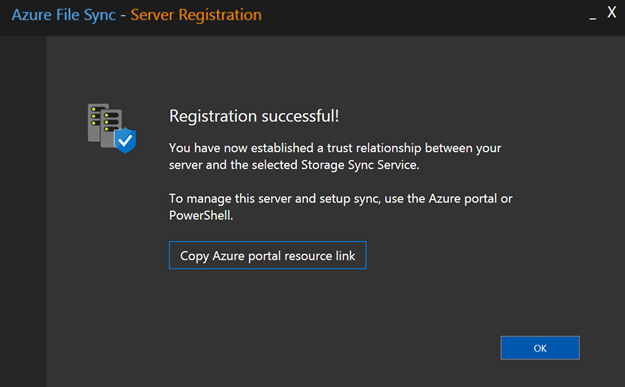
After you have selected the appropriate information, select Register to complete the server registration. A successful registration screen will show something like below.
The next step is to create a sync group and a cloud endpoint
A sync group defines the sync topology for a set of files. Endpoints within a sync group are kept in sync with each other. A sync group must contain at least one cloud endpoint, which represents an Azure file share and one or more server endpoints. A server endpoint represents a path on registered server. A server can have server endpoints in multiple sync groups. You can create as many sync groups as you need to appropriately describe your desired sync topology.
A cloud endpoint is a pointer to an Azure file share. All server endpoints will sync with a cloud endpoint, making the cloud endpoint the hub. The storage account for the Azure file share must be located in the same region as the Storage Sync Service.
On the Storage Sync Service tab, add the Sync Group as shown below

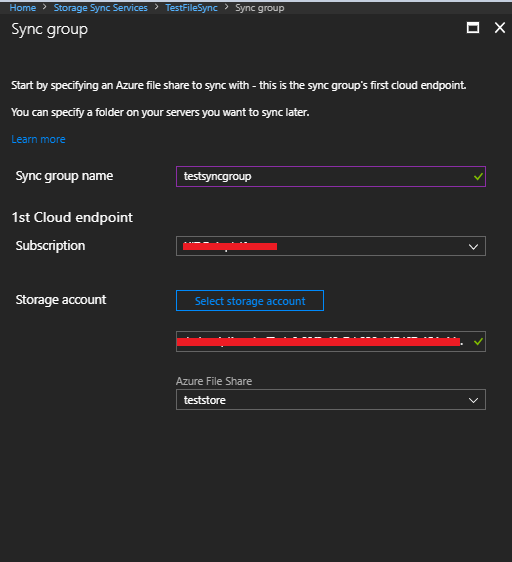
Next is to create an Azure File Share, for this purpose I have created a teststore in a storage account for which I am the owner, please note that you must the owner of the storage account, even having the contributor access to the storage account won’t work in this case.

The next step is to create the sync group cloud endpoint
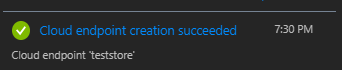
Once it’s done you will find this below message.
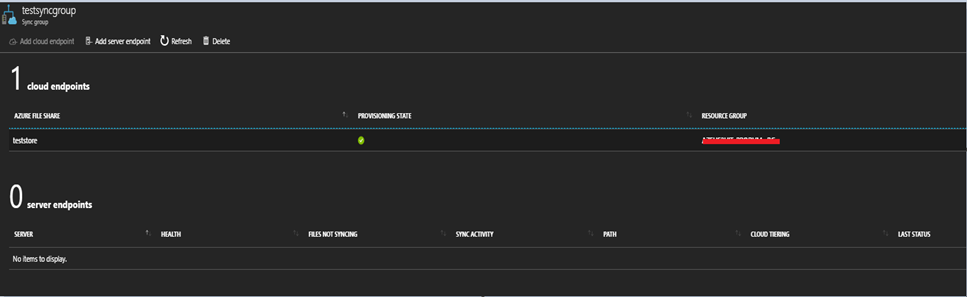
It will show something like this

Now the next step will be to add the server endpoint
Once you click on add server endpoint you will see a screen like this
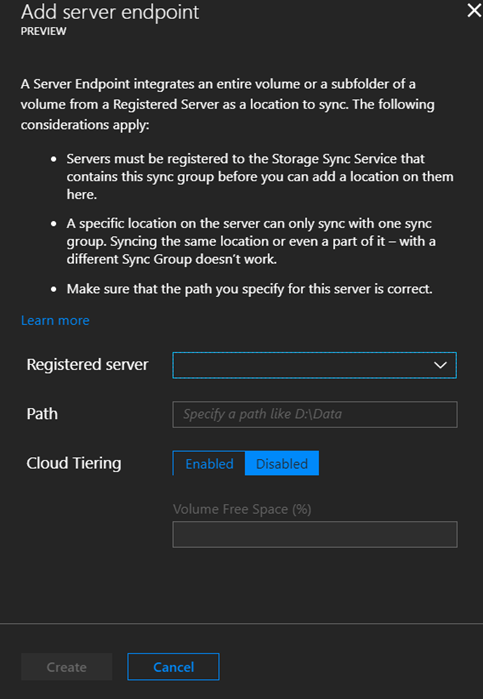
The drop down list will show the list of servers where the agent has been installed. Once you hit the create button it will provision the server endpoint as shown below

For our architecture we had a plan to sync the on-premises data to the Azure IaaS VM so I have added two server endpoints which is shown below

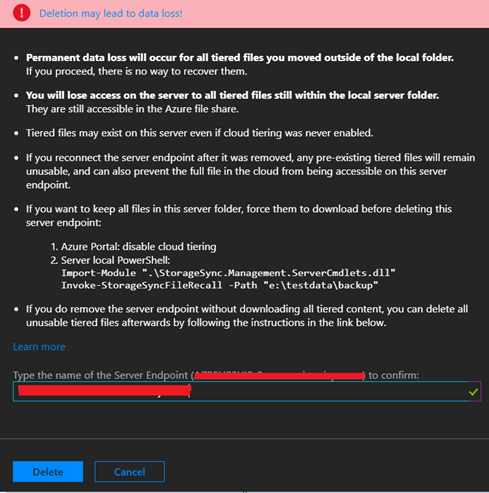
In case you want to delete the server end point you can also do that as well.
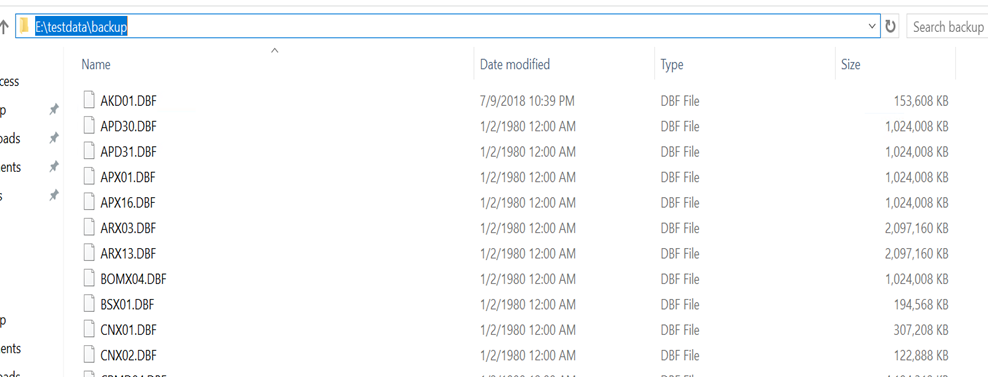
Once you have configured this you can check the folder in the on-premises server, it looks like this

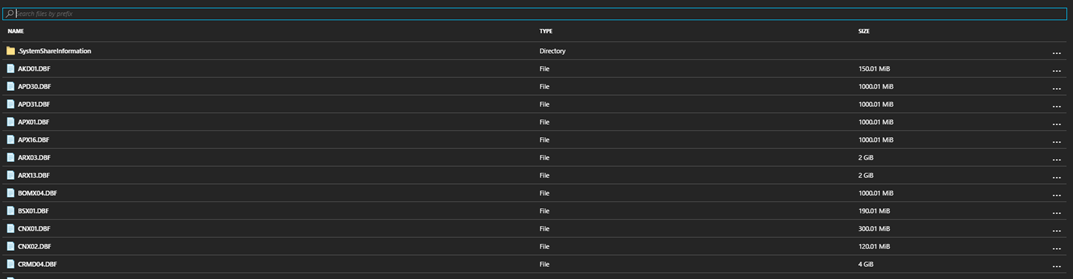
Once you login to the Azure Server the synced folder is showing like this.
As you have seen the data has been synced and the size is showing correctly in both the server end points. Now let’s check the data in Azure File Share and it looks like this
Please note if you want to sync large volume of data you can use RoboCopy or SMBCopy to pre-seed the data, AzCopy can’t be used here. For more details on preseeding or pre-staging of data, you can read my old post on File Server Migration here.
In one of my next post, I will show how to migrate DFS Replication (DFS-R) deployment to Azure File Sync. Thanks for your time, you have a great day ahead.
Step by step upgrade from Azure File Sync Refresh 2 Agent to Azure File Sync GA

Step by step configuration of Azure File Share without any disconnect of the network drive in next login.