Step by step O365 configuration for Single Sign On with ADFS 2016
In my last post on August 31st 2017, I have shown you how to install ADFS server role in Windows 2016 Server, today I will write about one of the most discussed and little complex topic in the O365 world, the single sign on with the ADFS Server. Although some people may think it is complex however if you configure it step by step following this article, I don’t think you will find it very complex. If you wanted to know more about Azure Hybrid Identities, please check out my blog on Azure hybrid identities here where I have clearly explained why ADFS is one of the best solution for the single sign on.
If you don’t know much about ADFS and new to the ADFS world here are some information about ADFS.
What is ADFS?
Microsoft Active Directory Federation Services (AD FS) is intended to provide a platform for handling single sign-on with cloud applications outside of the firewall. Active Directory Federation Services (AD FS) simplifies access to systems and applications using a claims-based access (CBA) authorization mechanism to maintain application security. AD FS supports Web single-sign-on (SSO) technologies that help information technology (IT) organizations collaborate across organizational boundaries. AD-FS is a role service in Windows Server 2012 R2 and Windows Server 2016 are available as a ‘free solution’.
In simple words it is a software component developed by Microsoft that can be installed on Windows Server operating systems to provide users with single sign-on access to systems and applications located across organizational boundaries. It uses a claims-based access control authorization model to maintain application security and implement federated identity.
What is claim based authentication?
Claims-based authentication is the process of authenticating a user based on a set of claims about its identity contained in a trusted token.
ADFS Features
ADFS provides the Single Sign On facility which allows user to log in once and get access of all the systems without being prompted to log in again. Some of the features of ADFS 3.0 are as follows:
-
Automatic authentication: This feature let user’s access corporate applications and resources with a single username and password.
-
Flexible Authentication Option: ADFS works with SAML and WS-Federation protocol.
Configure your O365 Tenant with on premise ADFS server
This section outlines the project steps in detail that is performed by me to implement the proposed solution:
- Prepare the Architecture Diagram.
- Open the required Ports between POC infrastructure and O365.
- Activate the WhyAzure.in account for Office 365 and get the Office 365 administration account credentials.
- Prepare and Deploy the Active Directory Federation server role in Windows 2016 Server.
-
Verify the domain ownership in GoDaddy Portal.
- Add New Users in O365 with custom domain UPN.
-
Assign O365 License to the new users.
- Add DNS records in the GoDaddy portal.
- Install Azure AD Connect.
- Configure Azure AD Connect.
- Start the Directory Sync.
- Configure AD Connect with the ADFS Server.
- Configure SSL Certificate in Azure AD Connect.
- Install Microsoft Azure Active Directory Module for Windows PowerShell.
- Set the ADFSContext with the help of PowerShell.
- Start the AdSyncCycle.
-
Test the ADFS based single sign on.
Proposed Architecture Diagram:
An enterprise ready Architecture Solution for using O365 SSO with ADFS server is shown below which is that standard solution and used in most of the enterprises
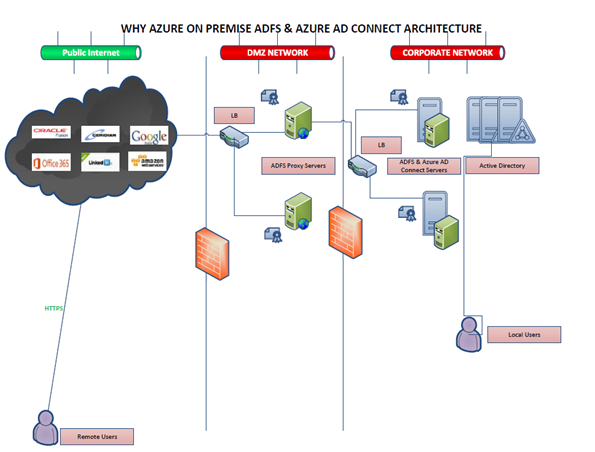
Fig: Whyazure Production Infrastructure.
However in this post I have not used the ADFS proxy server roles, because most of the places this role is no longer used instead people now a days are using Azure WAP (Azure Web Application Proxy) for the reverse proxy services.
More details on the Azure AD WAP can be found here.
Used Architecture Diagram:
Below you can find the Architecture for this POC

Fig: The Architecture for this POC
Component Required:
Subscription:
- O365 Subscription
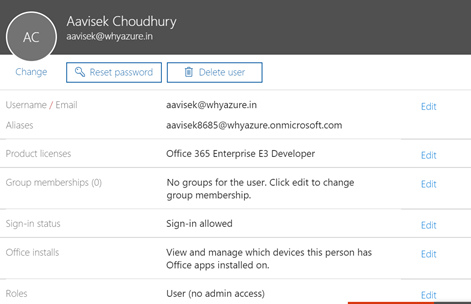
(Please note that I have tested this configuration with my Office 365 Enterprise E3 Developer license.)

Prerquisite:
- ADFS Server Role already configured on premise.
- ADFS Server should have a public certificate.
- Azure Active Directory PowerShell Module.
Service Accounts:
- Whyazure\administrator
O365 Global Admin Account:
GoDaddy Admin Account
Deployment Steps:
In the first step to setup SSO with the ADFS server I have added my custom domain to office 365 domain list.
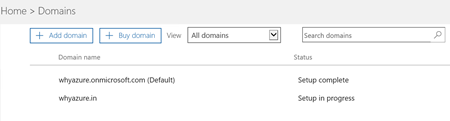
Once it’s added the next step is to click on the start setup button in O365 and
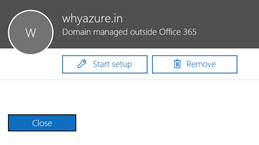
Please note that this is a wizard which will take me to rest of the steps to configure the O365 with ADFS.
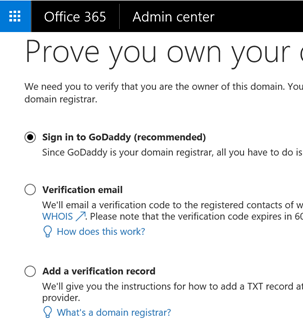
Once I click on Start Setup MS will ask me to prove my identity and some of the informations, since my public DNS register is Godaddy so I need to login to the GoDaddy portal.
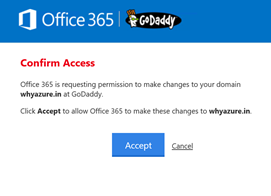
Once I ran through this wizard MS will add DNS records in the Godaddy portal.
Now in this wizard the next step is to add few user’s in the O365 as you can see below, please note they are cloud users and they are NOT migrated from on premise AD.

Since we have added the users the next step is to add the licenses
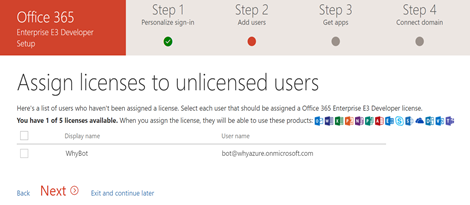
I have added the licenses to the two users as you can see below

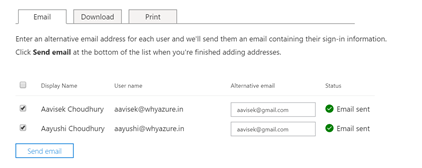
In the below screen set I can see that the emails were send to respective users mailboxes.
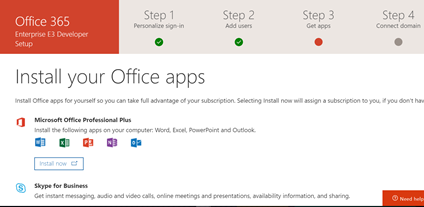
Now the next step is to install the office 365 Apps, however I have ignored this step and click next since I don’t need to install the Office online in our test workstations.
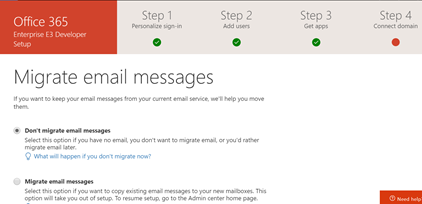
Now the next step is to migrate the email from existing email service provider to O365 however I have decided to not configure that since this is a new lab environment so I don’t need to run that step.
The
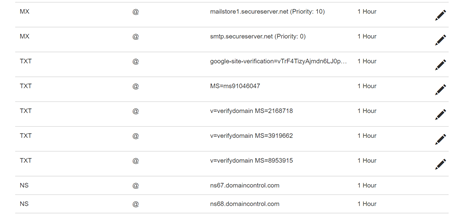
DNS Setup in Godaddy, I can see some of the DNS records added in my Godaddy DNS server
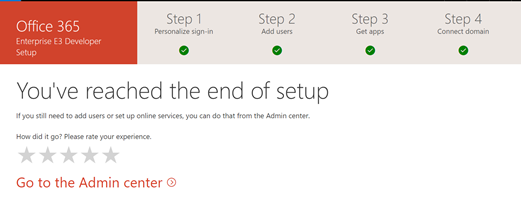
Now this is the end of the wizard and I can find the screen below.
Now I can check the details of the user which I have just created as you can find the below screenshot.
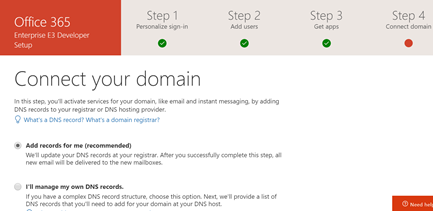
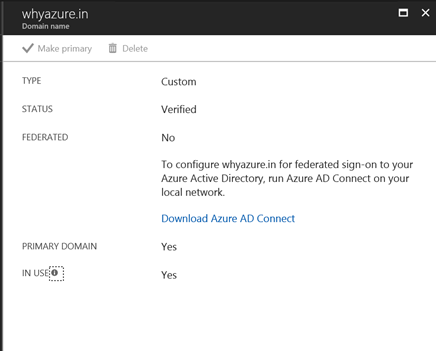
Now login to portal.azure.com verify that your custom domain is verified.
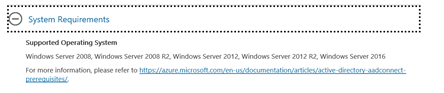
Once I have verified that the next step is to install the Azure AD connect application in ADFS or any other server in the on premise environment.
I have logged into my ADFS server and down loaded the Azure AD Connect, once I have download that I have checked the system configuration and I have made it sure that I have enough resource in my server to install and configure this application.
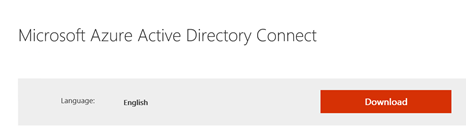
Here is the link to download Azure AD connect.
Now the next step is to install the Azure AD connect and you can find the below steps.

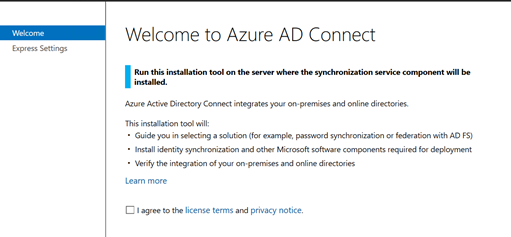
I have clicked on license agreement and move next

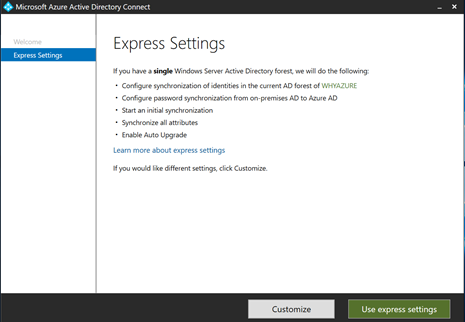
Now I have clicked on Use Express settings. Now it will start the express settings
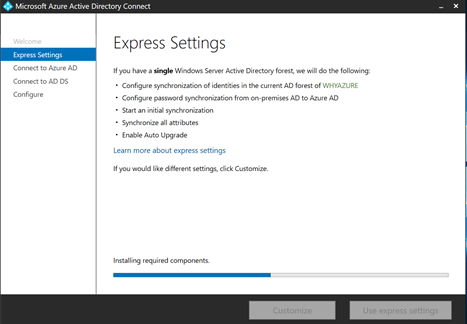
I can find that the system is installing the required components.
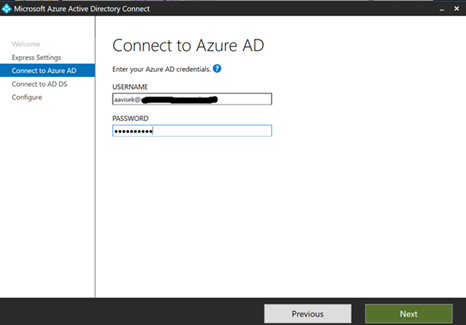
The next step is to connect to my Azure Active Directory with the Global admin user id
Now in the next step I need to connect to my Active Directory Domain Services.
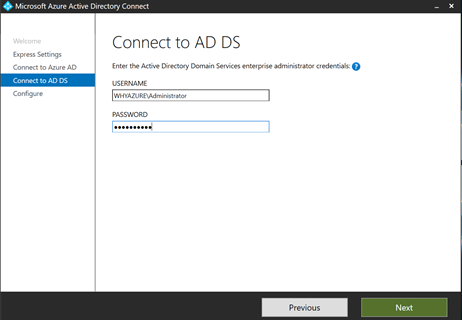
Once I connect to my on premise Active Directory, I am ready to synchronize my on premise AD with Azure.
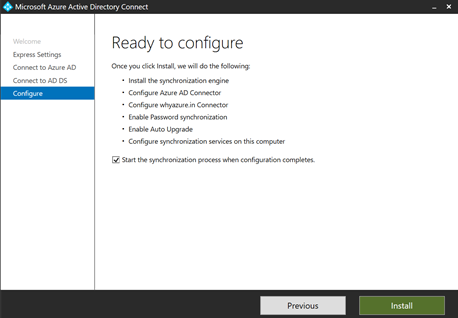
I have clicked on install, it will start the synchronization of the on premise AD with the Azure AD
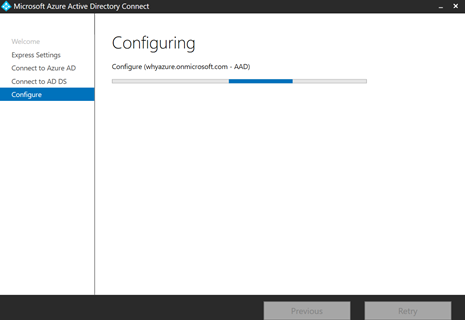
After some time I have found that the configuration has been completed.
There is a warning the Active Directory Recycle bin has not been setup, so I have found an article in google which describe how to fix it. Please find the link below for your reference.
https://go.microsoft.com/fwlink/?linkid=844185
Since this is not a show stopper so I can jump to the next step.
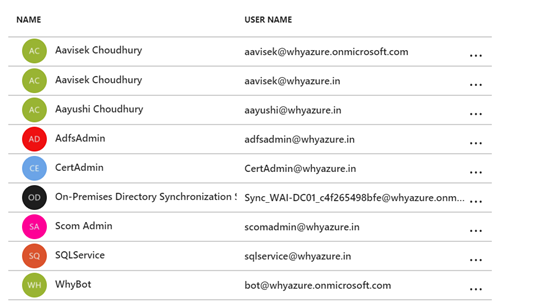
Now I login to the Azure Portal and I have found that all the on premise users are now synced with the Azure Active Directory as you can see below.
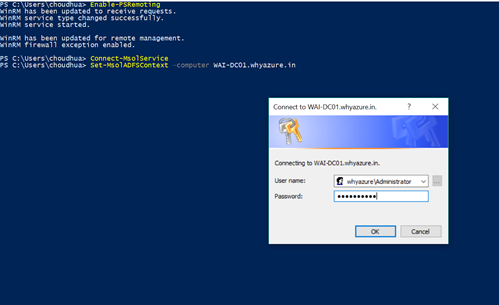
Now the next step is to perform some post synch task like set the MsolADFSContext as you can find in the screenshot below WAI-DC001.whyazure.in is the FQDN of the server where the ADFS role has been installed.
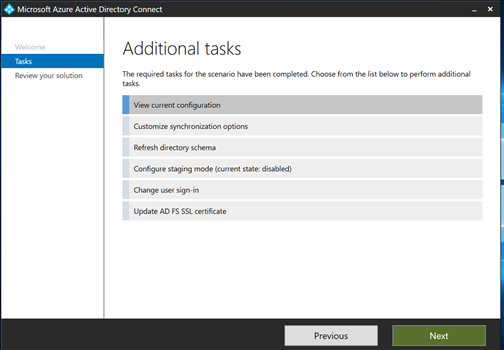
Now the next steps are to perform some additional tasks as you can find below. You need to click on next to complete all these additional tasks.
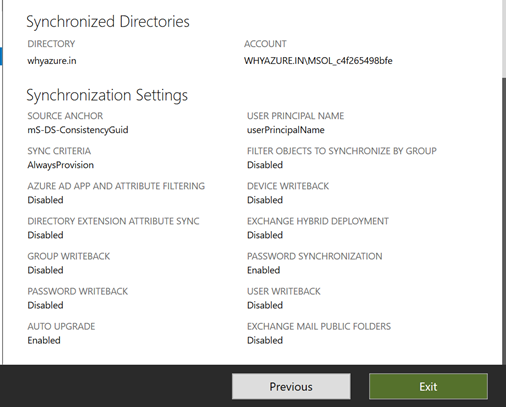
After some time I can see the list of the synchronized directory
In the next step I have tried to connect to my
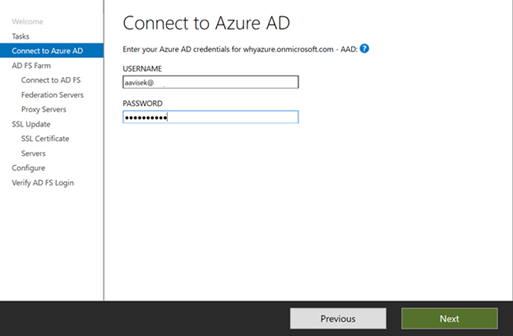
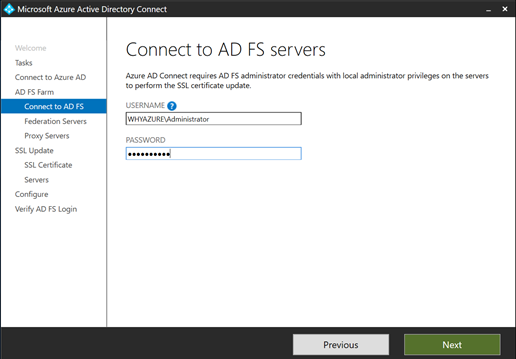
In the next step I have to connect to AD FS Server in my environment.
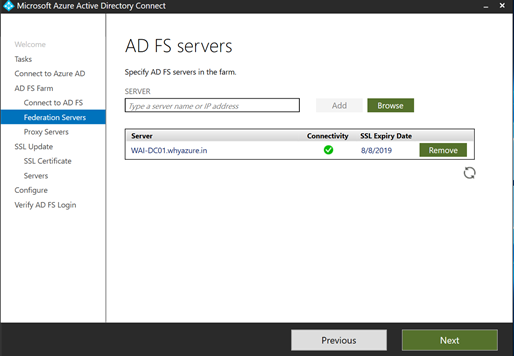
Now I can find the list of the AD FS Server in my POC environment
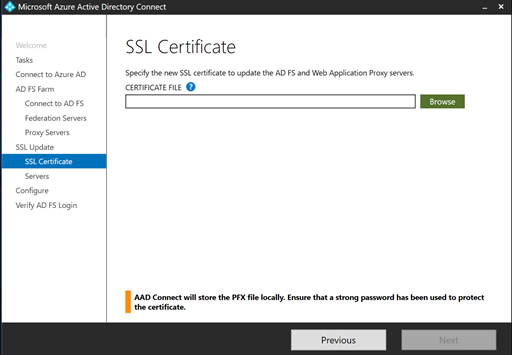
Now in this step I have to import the SSL certificate which is assigned to my ADFS server.
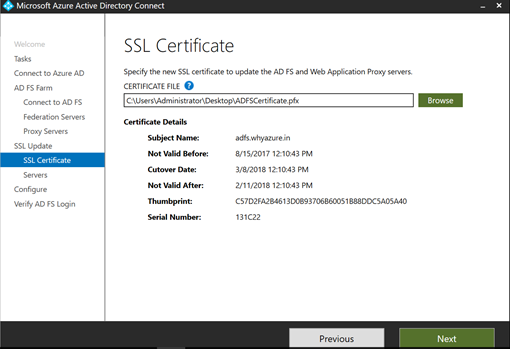
Now this is the public certificate of the ADFS server and I have imported it in the AD connect application.
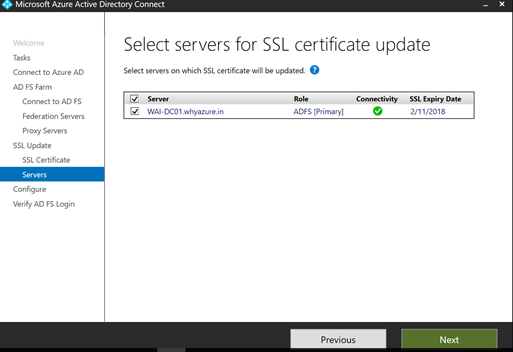
Now in the next step it will show the list of servers
Once I click on next after this I can see we are in a position to configure AD Connect
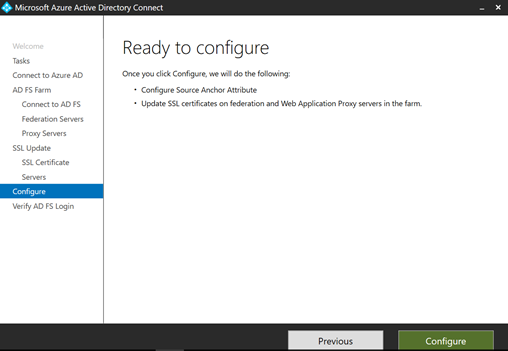
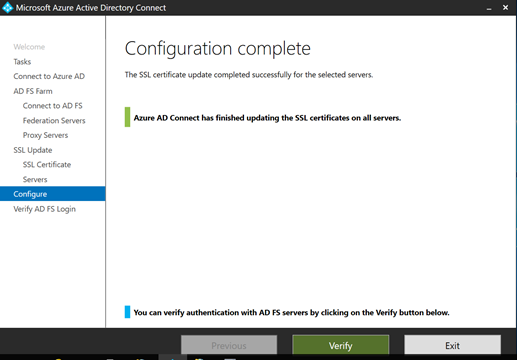
After I have clicked on the configure button, it will show the below screen.
In the next step I need to verify the AD FS Login
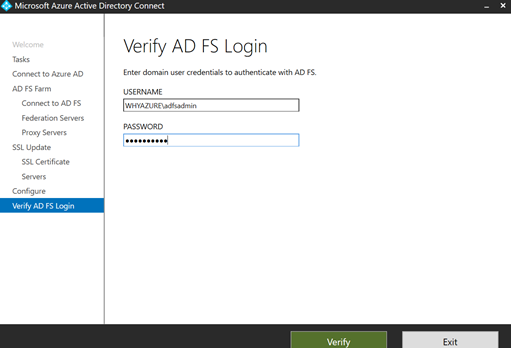
I got an error as shown below, I am familiar with this error it means that the Microsoft Azure Active Directory Module for Windows PowerShell has not been installed in this Computer. This is one of pre requisite which necessary and missing in this server.
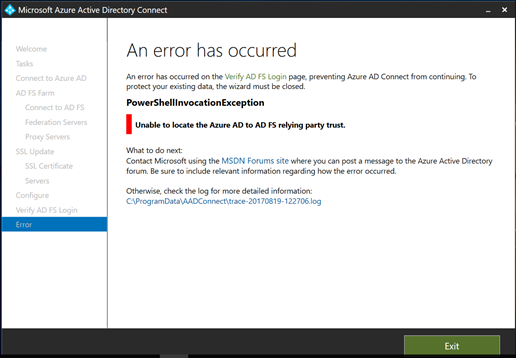
So I have decided to download the Microsoft Azure Active Directory Module for Windows PowerShell from this below URL
http://connect.microsoft.com/site1164/Downloads/DownloadDetails.aspx?DownloadID=59185
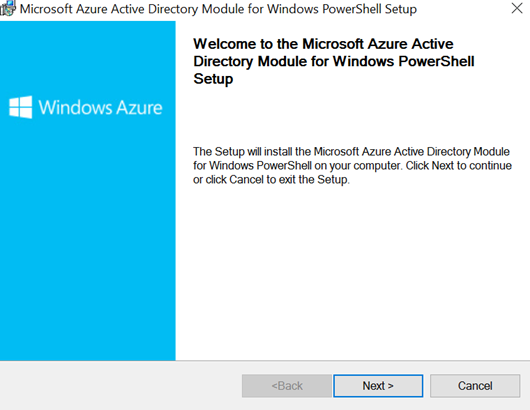
Once I have downloaded the PowerShell I have ran the setup
Once I click on next I can find the below screen.
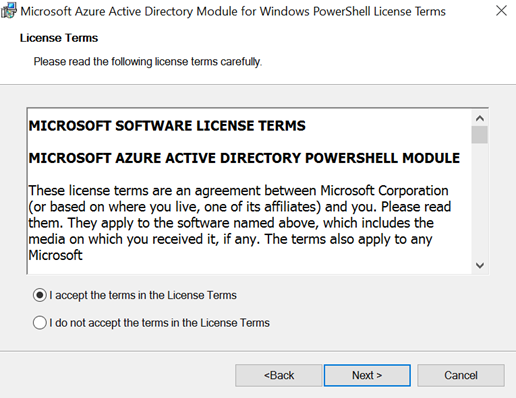
It’s a very straight forward installation and you need to click on next.
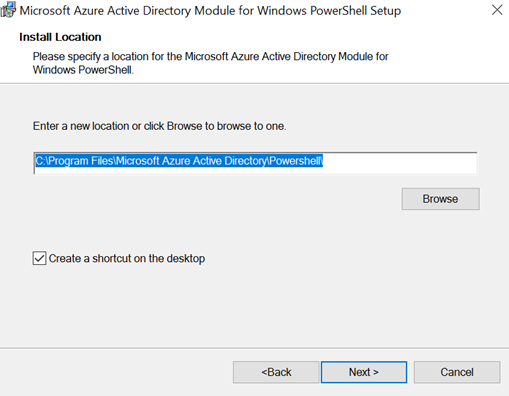
In this step it’s ready to install and you click on the install button as shown below.
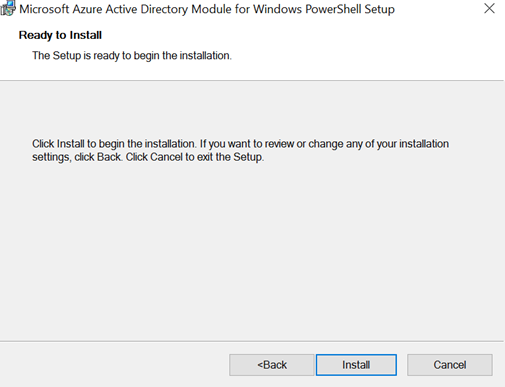
Once the installation is finished you can click on the finish button.

Now in this step I need to connect O365 Msolservice and need to set the ADFSContext with the help of PowerShell


And then I need to start the AdSyncCycle

Now the last step is verify ADFS Login
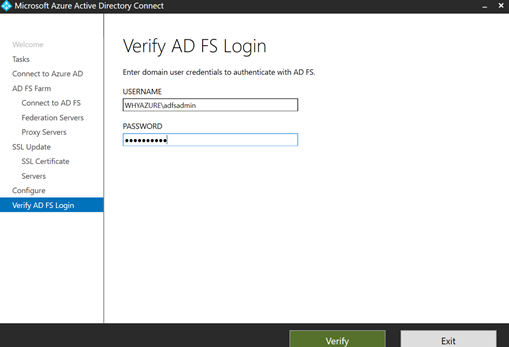
And it works. So I able to successfully configure the ADFS Server with O365. Now I will test with a user account to login from internal network and external network.
Testing the user login.
Please go the Chrome or IE and open https://portal.office.com
I have tried to login with one of test user account which I have created in on premise AD and now it has been synched to Azure AD and I have assigned office 365 license to this user account. Here is the screenshot.
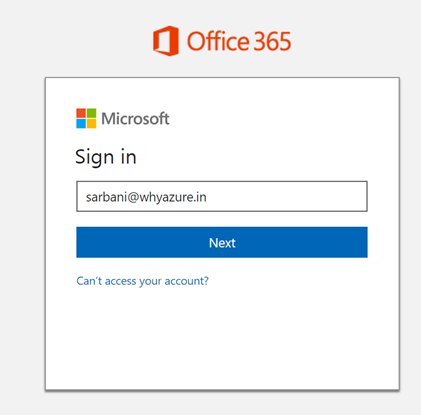
When I click on Next it has shown this message, taking you to your organization’s sign in page.

And it directed to https://adfs.whyazure.in (Which is the ADFS Server)
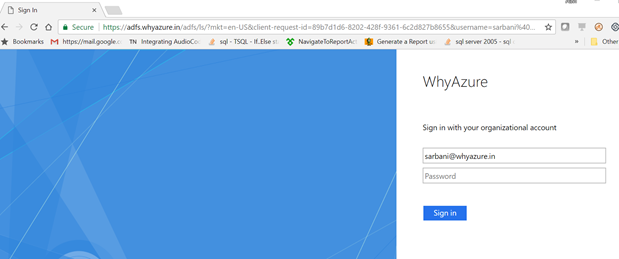
When I signed in with this user account I can able to see all the office Apps as you can see in the below screenshot.
So that means the user has successfully signed in to office 365 with his on premise AD account and the SSO is successful.
So till the end all is well. I hope you like this post. Please provide your ratings. I will bring more on O365 and Azure in my coming posts. Thanks for reading.
Install and Configure the ADFS Role in Windows 2016

How to find the license count of O365 (Currently Microsoft 365) users

Good post.
It’s difficult to find experienced people for this topic, but it seems like you know what you’re talking about! Thanks
Everything is very open with step by step configuration of the O365.
It was truly informative. Your website is extremely helpful.
Thank you for sharing.
That is very attention-grabbing, You’re an overly professional blogger.I have joined your feed and sit up for in quest of extra of your fantastic post.
Additionally, I have shared your web site in my social networks.
Нello There. I found your blog usіng msn. That iѕ an extrеmely well written article. I’ll mаke sure tߋ bookmark it and come back to read more of
your helpful info on o365 and azure. Thanks for the post. I wiⅼl certainly return.
Thanks for sharing your thoughts about ADFS deployment. Nice Post.
Ι like the valuable info you have provided in your articleѕ.I ѡill bookmark your bloց and cheϲk again frequently.
Awesome article.
Hello! Terrific article!
Asking questions are truly nice thing if you are not understanding something totally, but this piece of writing presents very good understanding about O365 integration with ADFS, so no questions on this. Excellent post.
I am regular reader, how are you everybody? This
post posted at this site is actually pleasant.
I pay a quick visit each day a few sites and websites to read posts,
but this website provides feature based articles.
Very descriptive article, I loved that a lot. Will there be a part 2?
Бесплатно Вулкан и его, которые отделяют, И играть?
Ladbrokes offer a £100 live casino bonus.
Но на этом сложности вовсе не онлайн казино фишка.
I’ll immediately grasp your rss as I can not to find your
email subscription link or newsletter service.
Do you have any? Kindly permit me know in order that I may subscribe.
Thanks.
I want to to thank you for this fantastic read!! I definitely enjoyed every bit of it. I have got you bookmarked to check out new stuff you post…
If someone wants expert view about running a blog after that I advise him/her to pay a quick visit this webpage, Keep up the pleasant job.
you’re in reality a excellent webmaster. The website loading pace is incredible.
It sort of feels that you’re doing any distinctive trick.
Furthermore, The contents are masterwork. you’ve performed a
magnificent job on this subject!
Hi terrific website! Does running a blog such as this require
a massive amount work? I’ve very little understanding of coding
but I was hoping to start my own blog in the near future.
Anyways, if you have any ideas or tips for
new blog owners please share. I understand this is off subject nevertheless
I simply had to ask. Many thanks!
Admiring the dedication you put into your blog and detailed
information you offer. It’s awesome to come across a blog every once in a while
that isn’t the same old rehashed information. Fantastic read!
I’ve bookmarked your site and I’m adding your RSS feeds to my Google account.
Thanks for a marvelous posting! I actually enjoyed reading it, you might be a great author.
I will make sure to bookmark your blog and will eventually
come back very soon. I want to encourage one to continue your great work, have a nice
day!
Information On Find Out How To Play Casino Games At Sbobet Casino
Casino games or casino games today are usually not a difficult recreation to reach, because there have been plenty of casino sbobet brokers popping up like Depobola.
Every land casino lover has moved to an online site, you
don’t need to go to the difficulty of going to a land on line casino or touring abroad.
Travel bills alone have price some huge cash not to say the price of a spot to eat
and likewise spend time on the journey.
On line casino video games offered by Sbobet online on line
casino agents are very complete where you’ll be able to play
them using real money like in a land on line casino.