Review of the Microsoft Garage project of the Fast Data Transfer Tool (FDT) and a comparison with RoboCopy
Large file copying from on-premises to Azure still remains a challenge and migration experts need to do multiple tests to get into the conclusion that which tool they are going to use. One of the main reason for this is that the application outage calculation entirely depends on the time to copy TB’s of data.
Recently there is a post in Linked-In from my old friend, azure expert and ex-colleague Nilesh Shetty regarding the Azure Fast Data transfer tool project by Microsoft garage and I had commented on that we have started testing that tool. For the people who were new to the Azure Fast Data Transfer Tool and never got a chance to use this tool, can read more about this project here in this Microsoft garage article.
As per this above article let’s see what is there in the fast data transfer tool.
What is Fast Data Transfer?
Fast Data Transfer (FDT) is a tool for fast upload of data into Azure – up to 4 terabytes per hour from a single client machine. It moves data from your premises to Blob Storage, to a clustered file system, or directly to an Azure VM. It can also move data between Azure regions.
Let’s see what is required to configure the Fast Data Transfer Tool.
You need to install and configure the Fast Data Transfer with the following steps:
Step 1: Install its server-side component on VMs in your target region – that is, the region where your data will reside. You can download an Azure Resource Manager template to create VM(s) and to install FDT on them. (You can download the VM template by clicking this link here.)
Step 2: Install the client. You can use an on-premises machine or Azure VM which will be your source machine where you suppose to install and configure the fast data transfer tool’s client components.
Step 3: In step three you need to prove the connectivity between the source and the client machine by transferring a small set of data.
Step 4: Set target speed, to perform optimally FDT needs an initial target speed that is realistic for your network. This initial target speed is measured in megabits per second and is supplied as the value of the -M parameter.
Real-time testing:
Real testing scenario: Once you able to build the VM from the Azure ARM template, please login to the server and go to the FDT->Server location and open the FastdataTransferServer.settinngs file.
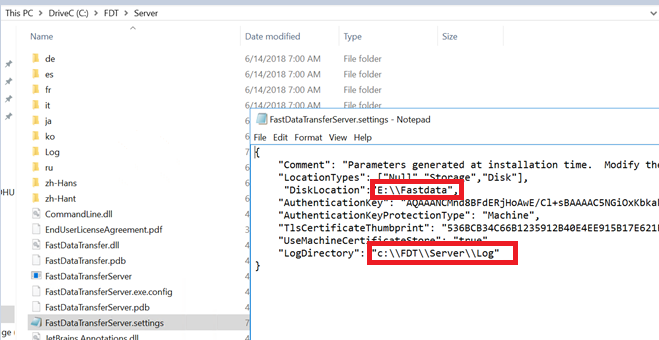
Image: FDT Server configuration
As you can see above you need to provide the path of the Destination Folder and the Log Folder
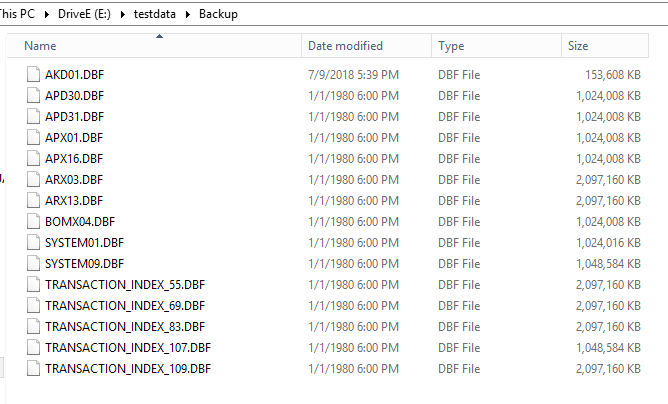
Now lets RDP to the source/client-server, here you can see that I have a folder which contains files which are very old Oracle DB, the size of the folder is 20 GB
In the next step in the client machine, I have run the following command.

And I can see the following screen
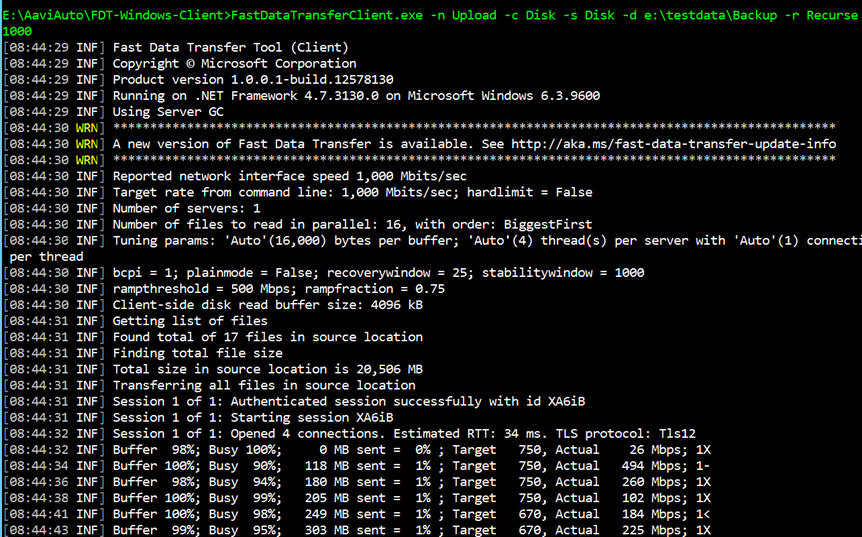
And you can see this screen
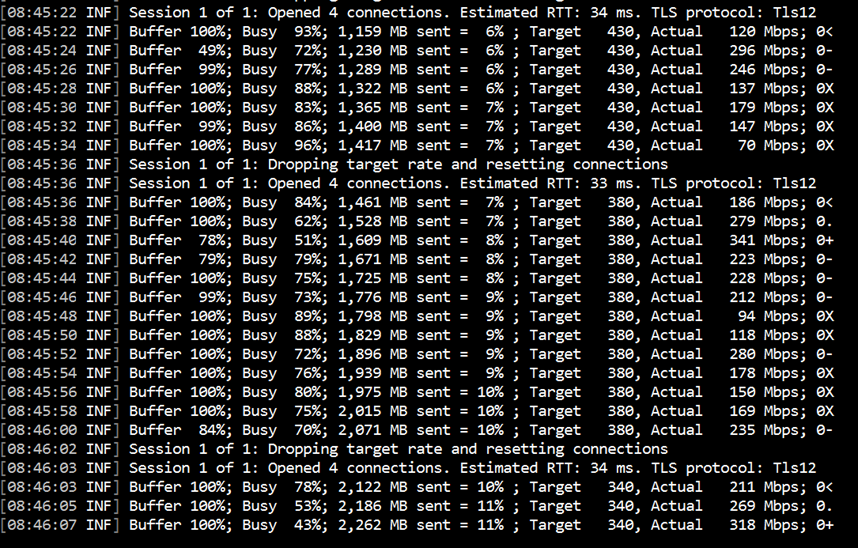
And this one also…
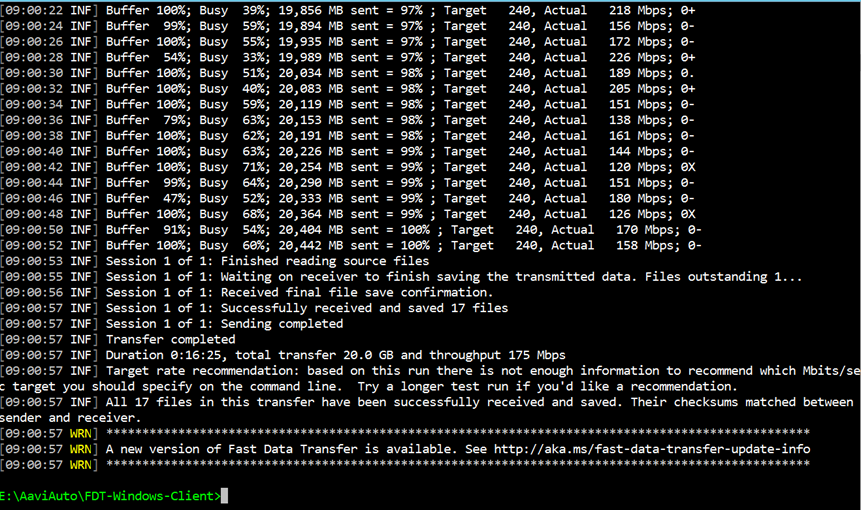
So it took 16 Mins time to complete the 20 GB data from the client VM to the destination VM.
Please note that I have a 500 MB express-route setup between the two network but the speed is very slow I believe. I again switched to a network where I had a 1 GBPS ExpressRoute connection between Azure to On-Premises.

And you can see the speed as below
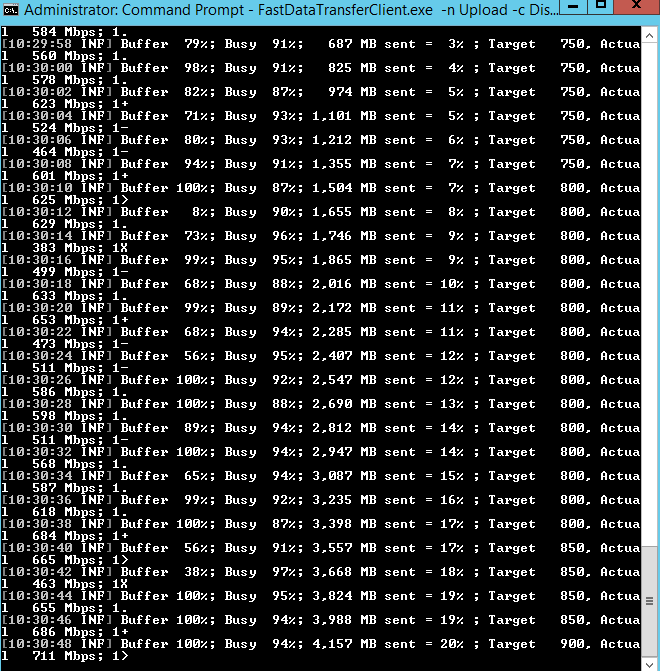

I got a speed of 586 Mbps this time and the copy has been completed within 4 Minutes and 53 seconds.
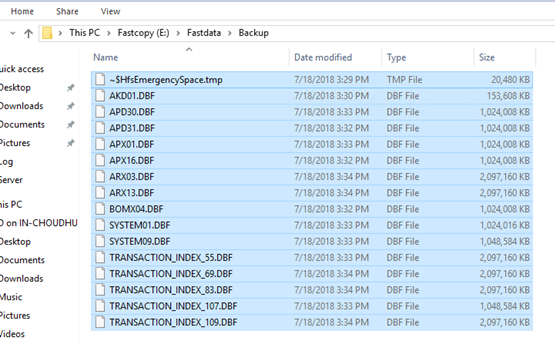
I just log in to the source server and I have found the following
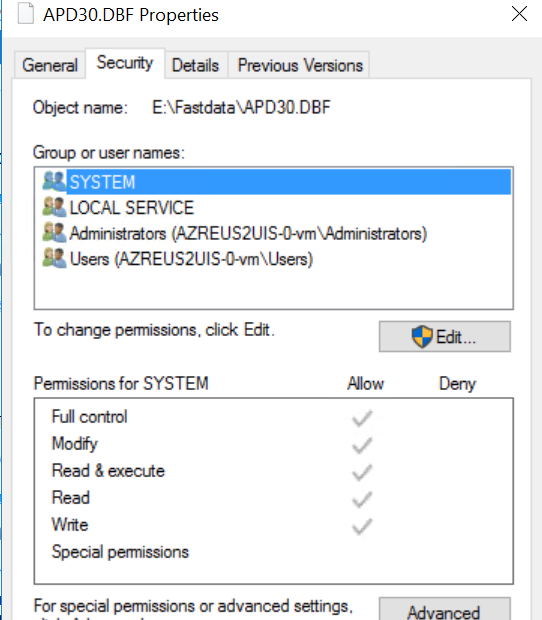
I have decided to do a quick check on ACL and unlike the RoboCopy the ACL were not copied to the destination server. As you can see below.
Now I have decided to test the RoboCopy in the same network now. (An ExpressRoute Circuit of 1 Gbps)
The reference of the RoboCopy command you will get from here.
https://www.computerhope.com/robocopy.htm
Here is the Robocopy command.
robocopy.exe “\\Source Servername\testdata\Backup” “E:\Robodata” /e /b /copyall /r:6 /w:5 /MT:64 /tee /log:E:\RobocopyLogs\servername.log
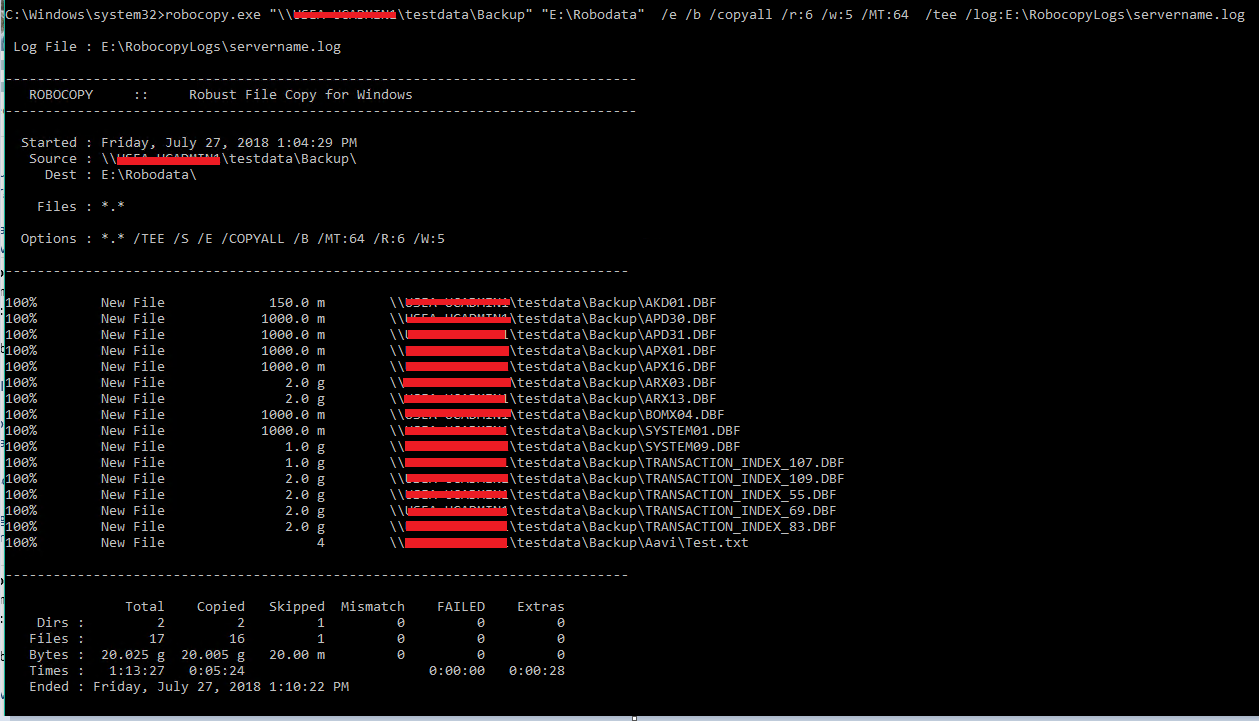
As you can see the files were copied within 5 Mins 24 Secs. But RoboCopy also preserved the ACL. For more details please read my old post here.
So here is the comparison table.
| Parameters | Fast Data Transfer | RoboCopy |
| Time to copy 20 GB Data | 4 Mins. 53 Secs. | 5 Mins, 24 Secs. |
| ACL preservation | No | Yes |
| Server infrastructure required | Yes | No |
Conclusion: I believe there is no need to change immediately from RoboCopy to FDT if you have lesser ExpressRoute pipe because there is only 10% difference in copy time in my case which indicates that you will not see much difference with the low pipe. However, the scenario may be different if you have 10 GBPS pipe, which I not able to test since we don’t have provisioned such a large pipe in our environment.
Robocopy copying time can be further reduced if you ZIP the folder in the source location and then run the copy command.
That’s all for today. I hope you will like this post. You have a great day ahead.


