Step by Step Azure Backup and Recovery for the SQL Server VM’s Part I
Recently I got a chance to work on the Azure Backup of the SQL Server VM’s. In this post, I am going to share my experience with the Azure Backup of SQL Server VM’s. In Part II of this post, I will share my experience with Recovery of the Backup databases. Please note that this feature of the SQL Server VM backup is still in public preview, while I am writing this post.
I would also like to share with you all that this is one of the features for which we are waiting for last one year since we have huge SQL server footprints in Azure and it’s very difficult to manage without an enterprise level capability. However, while testing this solution we have found that Azure Backup for the SQL server is a right fit solution if you have SQL server versions above SQL Server 2008.
Azure Backup provides an Enterprise class backup capability for SQL Server running in Azure VMs. All backups are stored and managed in a Recovery Services vault. There are several advantages that this solution provides, especially for Enterprises.
As per MS, the following are the advantages of the Azure Backup of the SQL Server VM’s
- Zero-infrastructure backup: You do not have to manage backup servers or storage locations.
- Scale: Protect many SQL VMs and thousands of databases.
- Pay-As-You-Go: This capability is a separate service provided by Azure Backup, but as with all Azure services, you only pay for what you use.
- Central management and monitoring: Centrally manage all of your backups, including other workloads that Azure Backup supports, from a single dashboard in Azure.
- Policy-driven backup and retention: Create standard backup policies for regular backups. Establish retention policies to maintain backups for years.
- Support for SQL Always On: Detect and protect a SQL Server Always On configuration and honor the backup Availability Group backup preference.
- 15-minute Recovery Point Objective (RPO): Configure SQL transaction log backups up to every 15 minutes.
- Point in time restores: Use the portal to recover databases to a specific point in time without having to manually restore multiple full, differential, and log backups.
- Consolidated email alerts for failures: Configure consolidated email notifications for any failures.
- Role-based access control: Determine who can manage backup and restore operations through the portal.
Please find the architecture diagram of this solution.
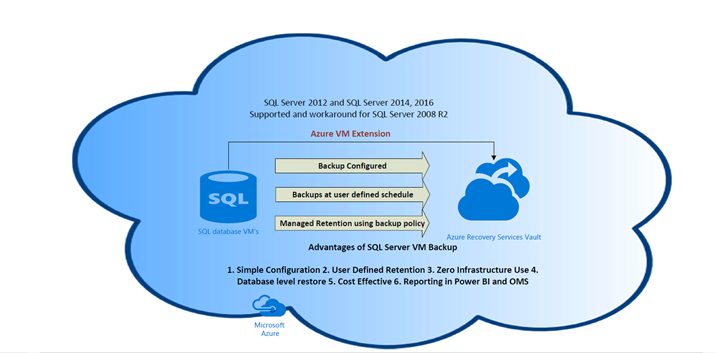
Fig: Azure Backup of SQL Server VM’s
Now let’s see the supportability.
Supported operating systems
- Windows Server 2012
- Windows Server 2012 R2
- Windows Server 2016
Linux is currently not supported. We have tested with SQL server 2008 R2 and it’s working fine.
Supported versions/editions of SQL Server
- SQL 2012 Enterprise, Standard, Web, Developer, Express
- SQL 2014 Enterprise, Standard, Web, Developer, Express
- SQL 2016 Enterprise, Standard, Web, Developer, Express
- SQL 2017 Enterprise, Standard, Web, Developer, Express
There is a workaround for SQL Server 2008 which I will discuss in Part II.
Prerequisite
Before you can back up your SQL Server database, check the following conditions. :
- Identify or create a Recovery Services vault in the same region, or locale, as the virtual machine hosting SQL Server.
- Check the permissions on the virtual machine needed to back up SQL databases.
- SQL virtual machine has network connectivity.
Important Note
If the virtual machine hosting your SQL databases was not created from the Azure marketplace, complete the following section to install the extension and set appropriate permissions. In addition to the AzureBackupWindowsWorkload extension, Azure Backup requires SQL sysadmin privileges to protect SQL databases. While discovering databases on the virtual machine, Azure Backup creates an account, NT Service\AzureWLBackupPluginSvc. For Azure Backup to discover SQL databases, the NT Service\AzureWLBackupPluginSvc account must have SQL login and SQL sysadmin permissions.
Step by step solution
Now I directly jump into the solution. First, we should go to the Recovery Services Vault. And select a particular recovery services vault where I would like to store the backup as you can see below.
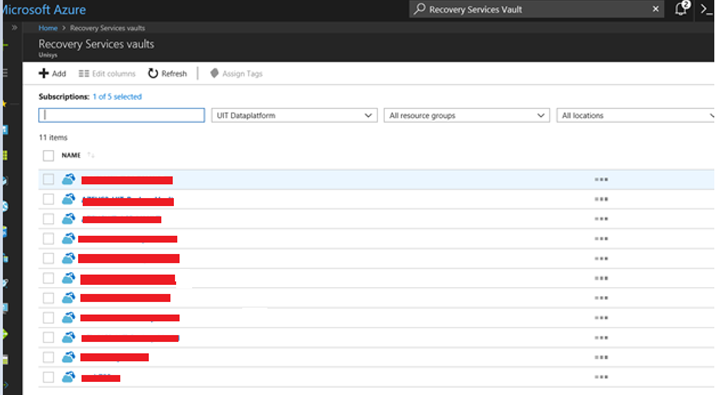
Once you open the Recovery Services Vault it will show the below dashboard.
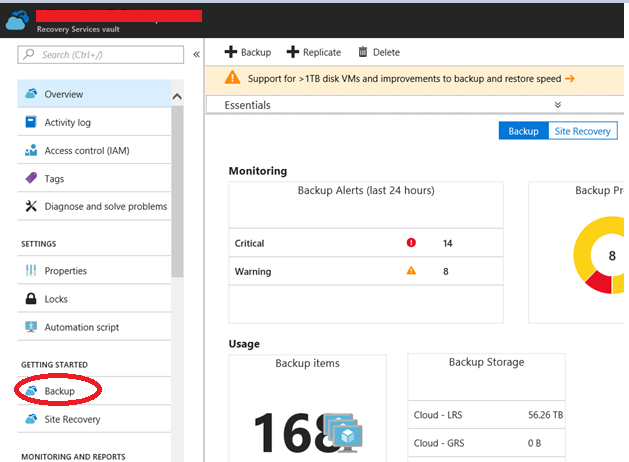
In the next step, you need to click on the backup.
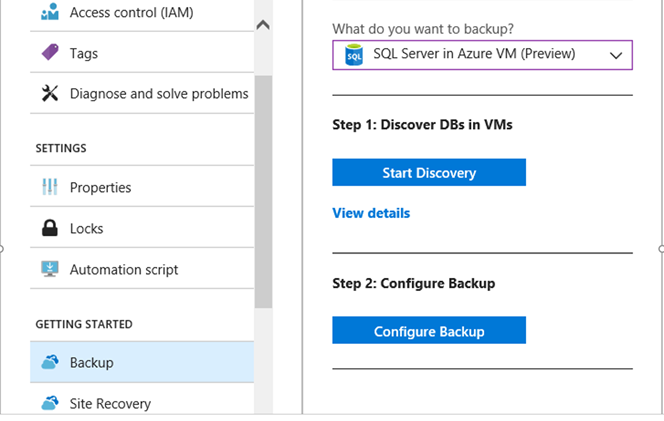
In the dropdown list please select the SQL Server in Azure VM (Preview) and click on discovery.
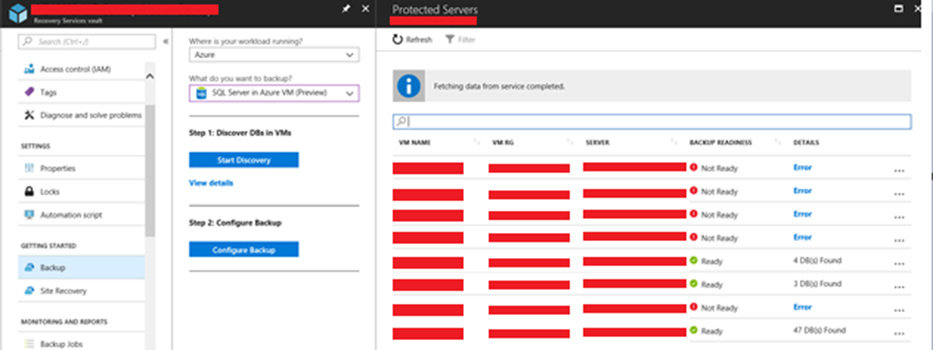
Now you can view a screen like above where it will list the SQL Server instances which it able to discover.
I think you have noticed that for some of the instances it’s showing error. The reason behind that those instances are SQL server 2008 or SQL Server 2008 R2, rest of the instances are either SQL Server 2012 or above.
If you click on the error details you can see something like this

Now for the servers for which the database discovery is successful, we can view the databases.
Now if you click on configure backup you can see the list of the instances – the Ready one are the ones where you can take the backup as well they are ready for the recovery.
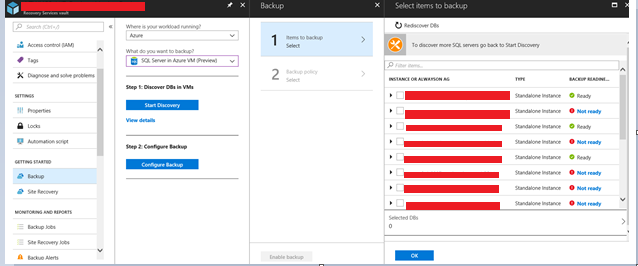
Now once the discovery of the DB’s is completed you can see the following message.

Now, what does it do to discover the DB actually it will add a service account NT Service\AzureWLBackupPluginSvc in the Server and gives the SQL login and SQL sysadmin permissions.
You can also view the plugin in the VM extension as shown below.

During the installation process, if you see the error, UserErrorSQLNoSysadminMembership, sign into SQL Server Management Studio (SSMS) with an account that has SQL sysadmin permission. Unless you require special permissions, you should be able to use Windows authentication to recognize the account.
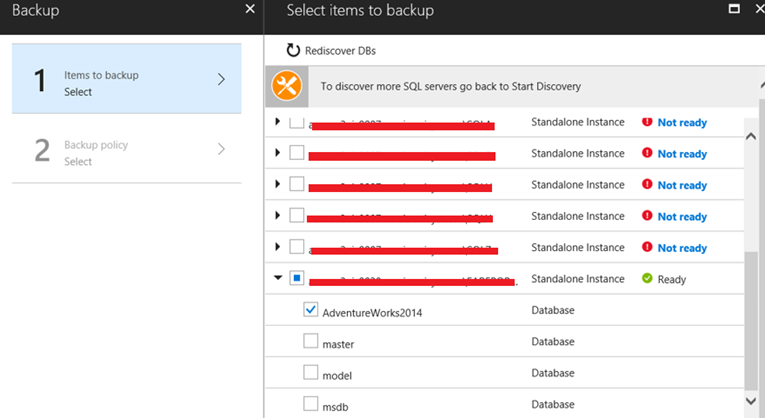
Now when the databases were discovered the next step is to configure the backup. For the testing, I have chosen a test database called AdventureWorks2014.
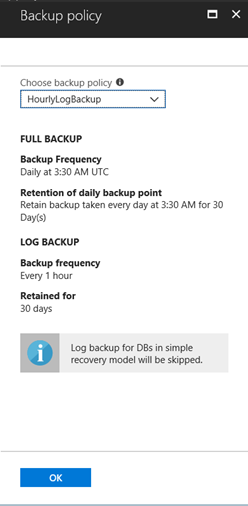
In the next step, you have to choose the backup policy as shown below. A backup policy defines a matrix of when the backups are taken, and how long the backups are retained. You can use Azure Backup to schedule three types of backup for SQL databases:
- Full backup – A full database backup backs up the entire database. A full backup contains all the data in a specific database or set of filegroups or files, and enough log to recover that data. At most, you can trigger one full backup per day. You can choose to take a full backup on a daily or weekly interval.
- Differential backup – A differential backup is based on the most recent, previous full data backup. A differential backup captures only the data that has changed since the full backup. At most, you can trigger one differential backup per day. You cannot configure a full backup and a differential backup on the same day.
- Transaction log backup – a log backup enables point-in-time restoration up to a specific second. At most, you can configure transactional log backups every 15 minutes.
The policy is created at the Recovery Services vault level. If you have multiple vaults, the vaults can use the same backup policy, but you must apply the backup policy to each vault. When creating a backup policy, the daily, Full Backup is the default. You can add a Differential Backup, but only if you switch Full Backups to occur Weekly. The following procedure explains how to create a backup policy for a SQL server in an Azure virtual machine
In our case, I have chosen the default policy which is already present by default.
The next step is to enable the backup.
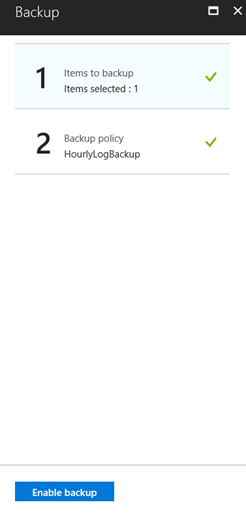
Once you click on enable backup button you can see something like below.

Now you can also start the backup manually by clicking the backup item button.
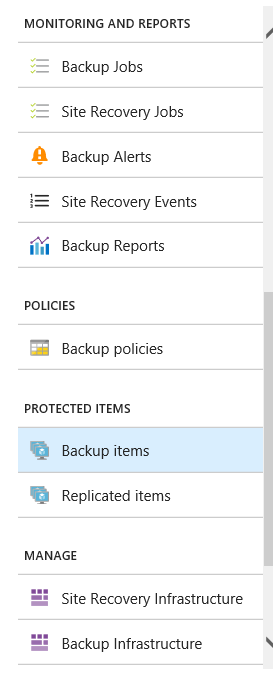
It will show you the list of the SQL VM backups which is currently configured as shown below
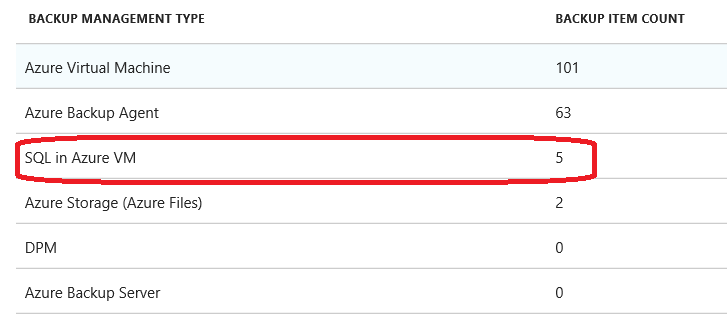
If you to the backup items you can see the items listed over there.

Once you take the first backup you can something like below.

You can also manually trigger the backup by clicking on Backup now button.
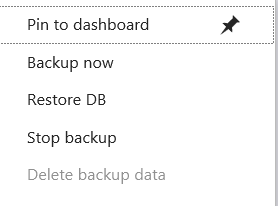
It will show the following screen.
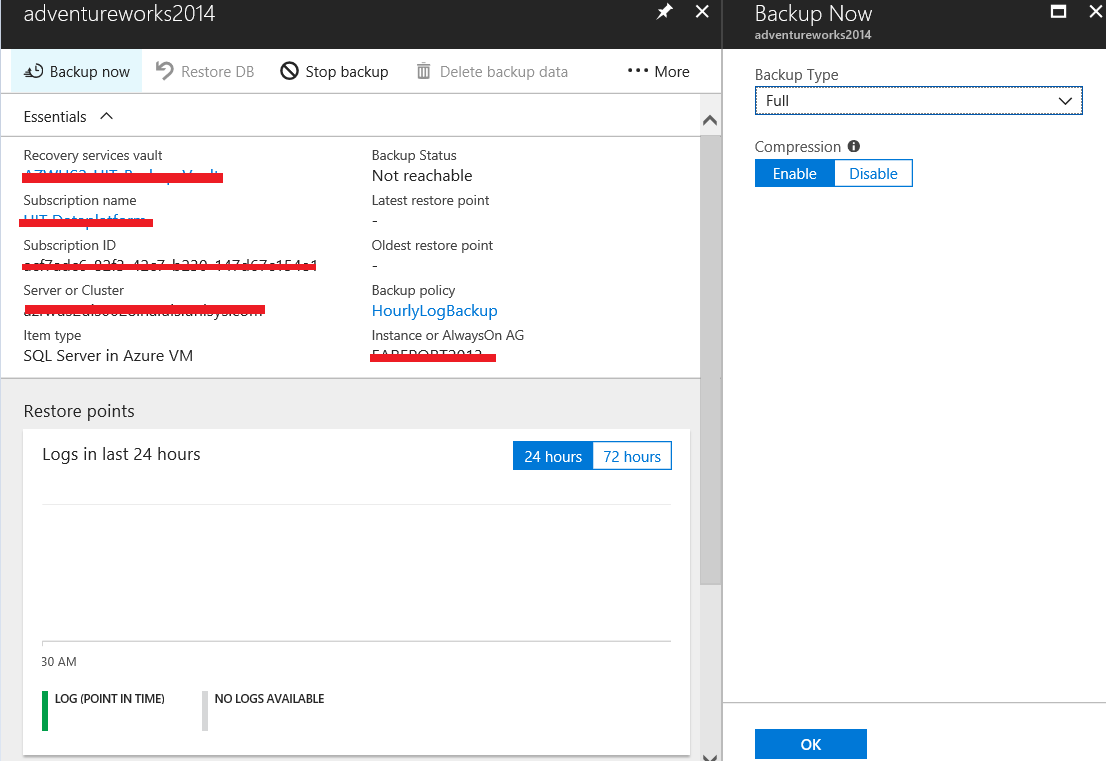
Clicking on OK button will trigger the backup of the database.

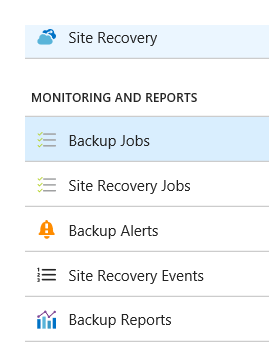
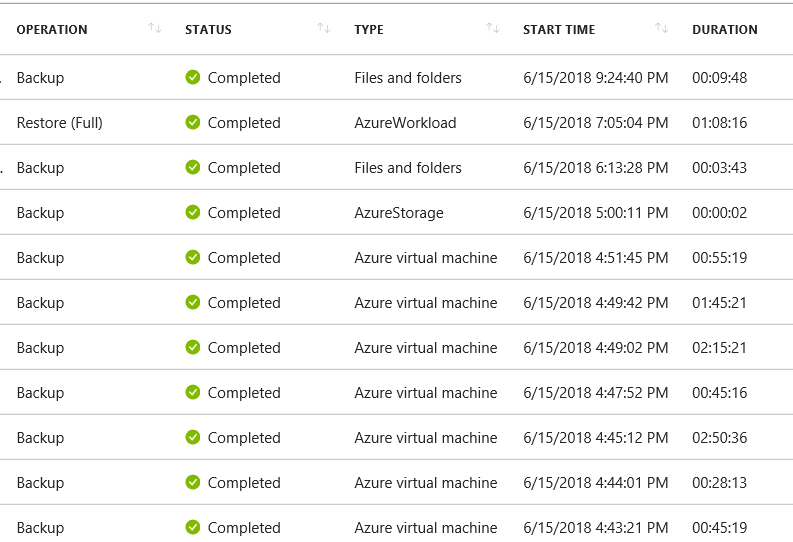
You can see the status of the backup in Backup Jobs
A report may look like the below screen. You can also filter the report and can go back to a previous date.
That’s all for today about the SQL server VM backup in Azure. In my next post (Part II) I’ll write more on the recovery of various size databases and possible ways of recovery. I hope you will like this post and it will help you in planning the backup of your SQL server environment.
Thanks for your time and you have a great day ahead.


